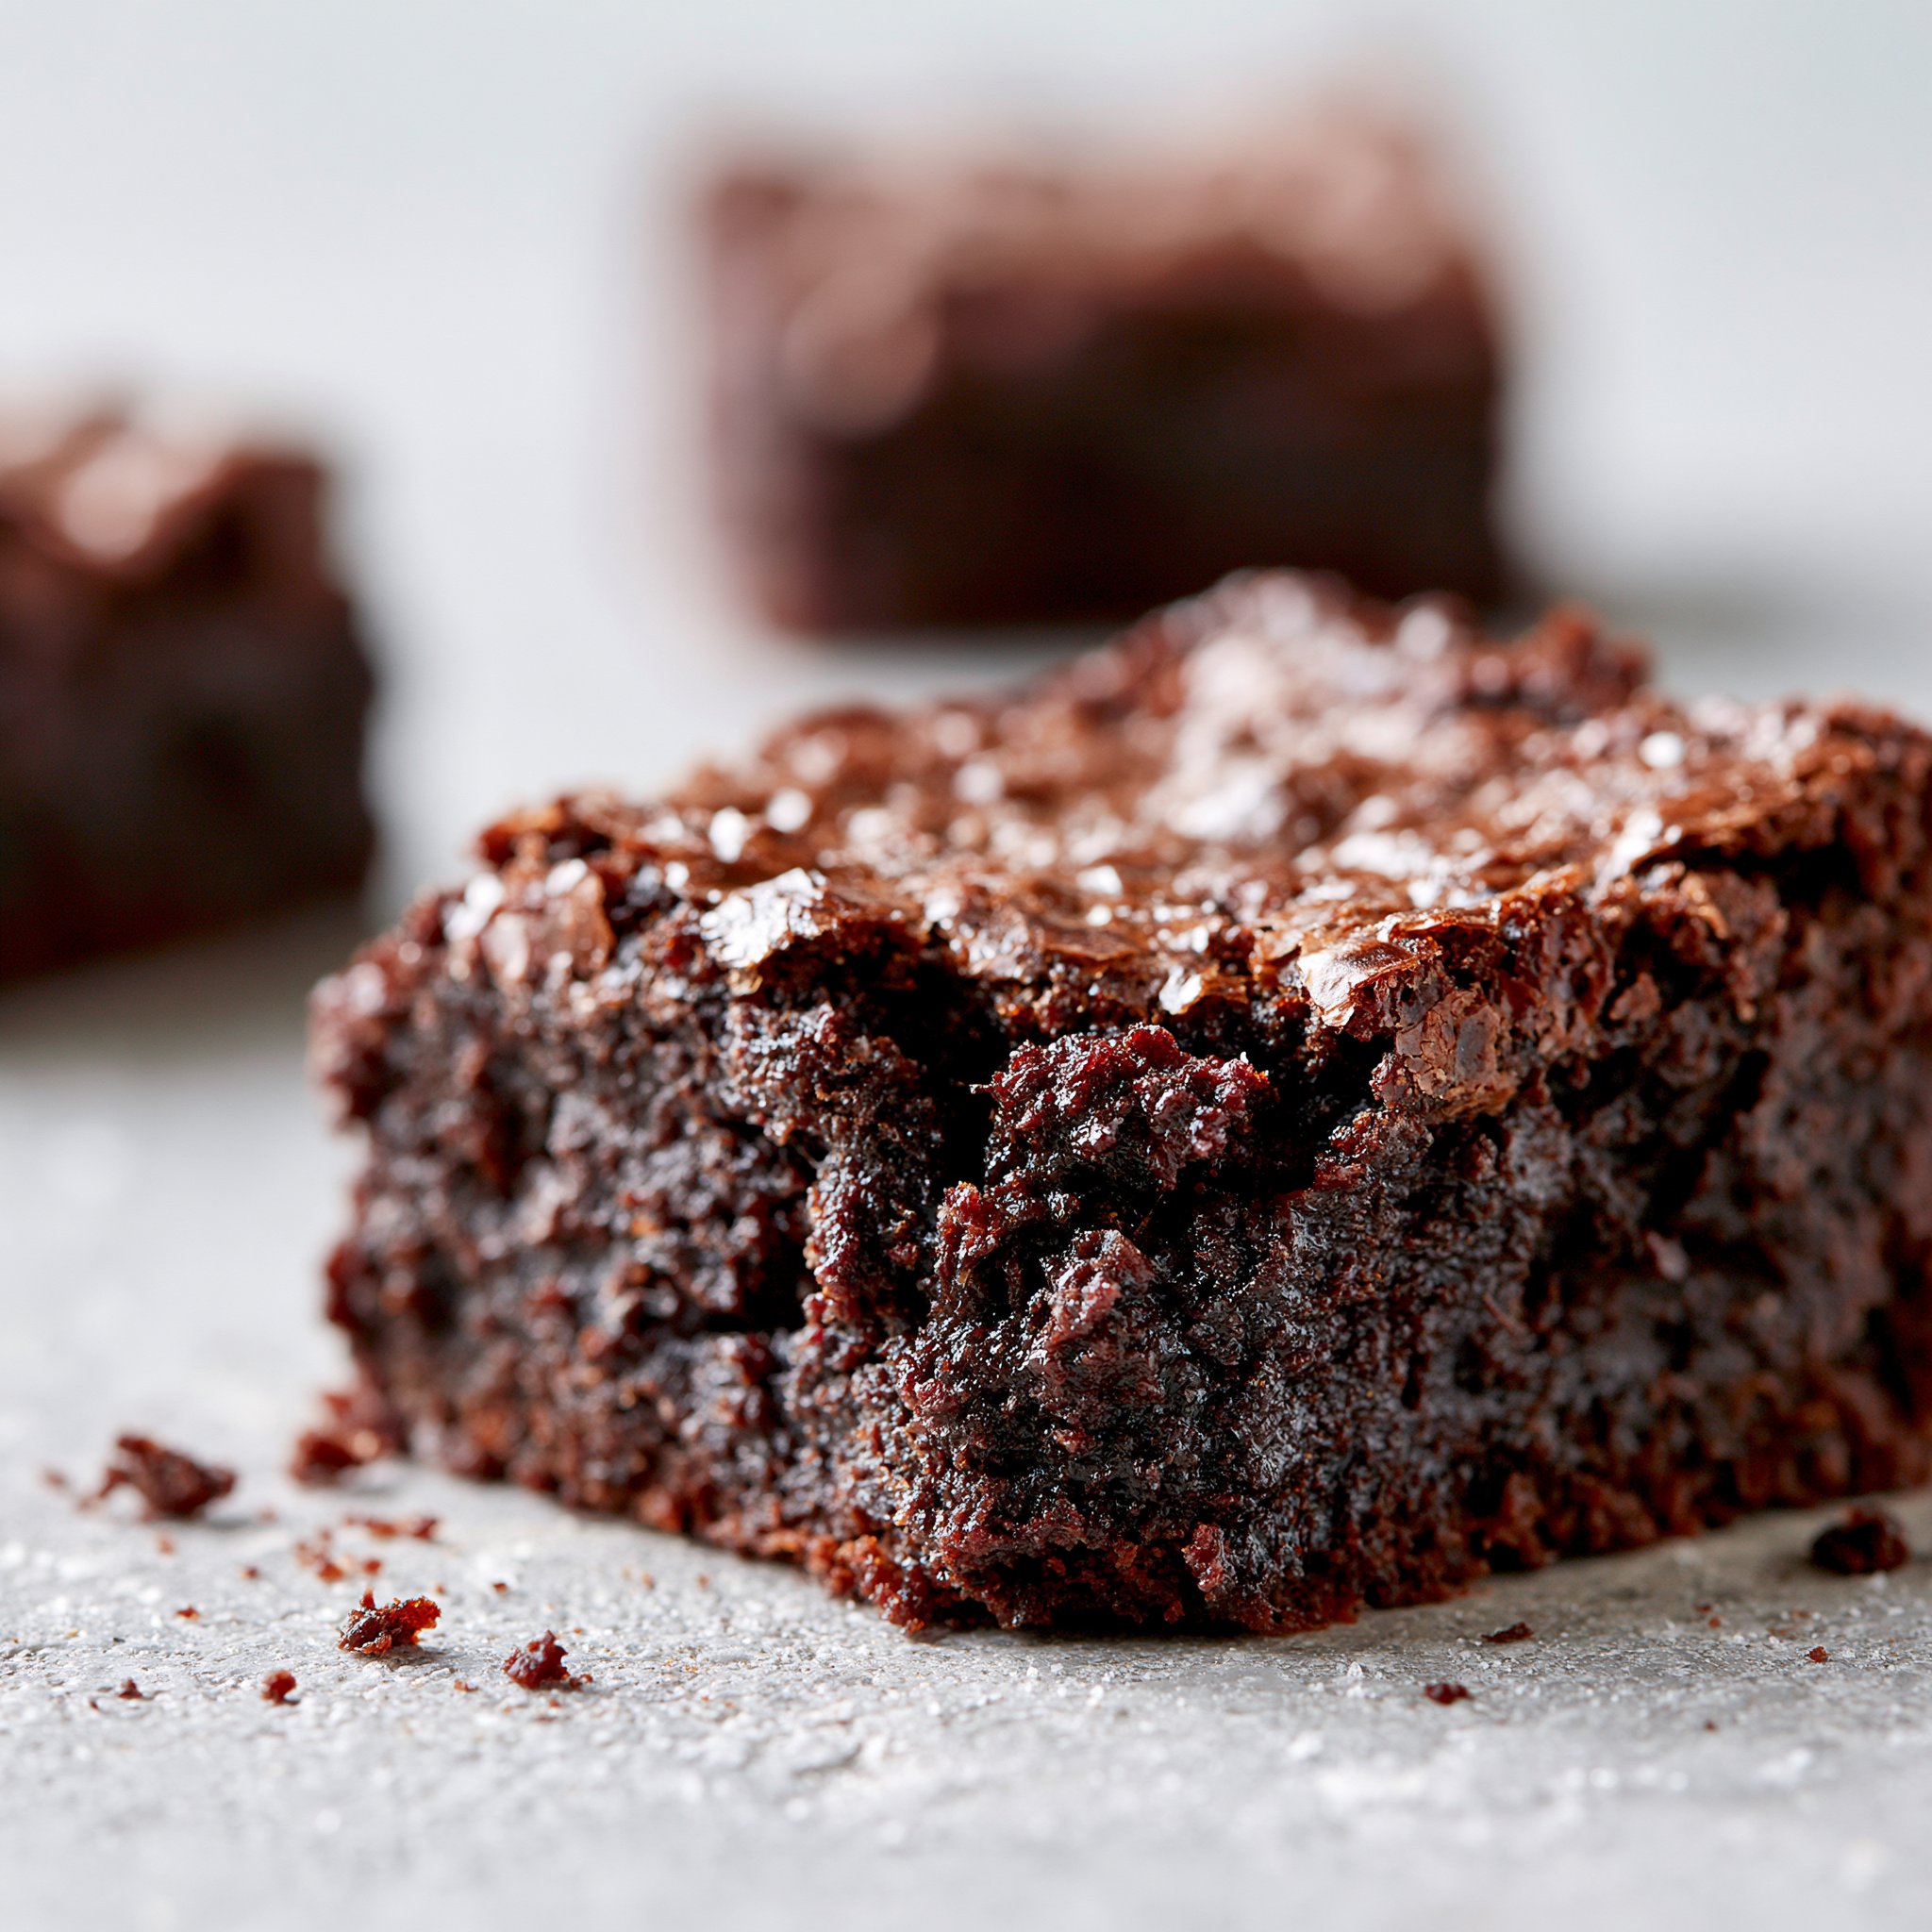
The best brownie bites are the ones that feel a little sneaky: tiny enough to grab “just one,” but rich enough that you actually feel satisfied. These gluten-free mini brownie bites bake up with a deep cocoa color, glossy tops, and soft, fudgy centers—thanks to cocoa powder, two sugars, and just enough fat to keep everything tender.
If you’re already a fan of classic pan brownies, think of these as their tidier cousin—easy to portion, quick to bake, and perfect for sharing. When I’m craving that familiar chocolate hit but don’t want to commit to slicing a whole pan, I’ll reach for this mini-muffin version (and if you want the bigger-bar vibe later, my simple pan brownies are a great next bake).
Why You’ll Love This Recipe
- Fudgy, not cakey: The batter is thick and bakes up with a soft middle and a set top—no dry crumbs.
- Double-sugar depth: White sugar gives quick sweetness, while brown sugar adds a warm, caramel-like note that plays well with cocoa.
- Fast bake time: Mini muffin size means you’re looking at 12–15 minutes in the oven.
- One-bowl-friendly feel: You’ll mix dry and wet separately, then combine—easy, tidy, and hard to mess up.
- Clean finish: A little vanilla and a pinch of salt sharpen the chocolate flavor so it tastes “brownie,” not just “sweet.”
The Story Behind This Recipe
I developed these when I wanted a gluten-free chocolate treat that looked polished without extra effort—something you can pop out of a mini muffin tin and set on a plate, no slicing or crumbs everywhere, with that classic brownie smell the minute the cocoa hits the warm oven.
What It Tastes Like
They taste like concentrated brownie corners: rich cocoa up front, a mellow sweetness from the mix of white and brown sugars, and a vanilla-chocolate aroma that’s especially noticeable when they’re still warm. The tops set into a soft, smooth cap, while the centers stay tender and fudgy—more “bite-sized brownie” than “mini cake.”
Ingredients You’ll Need
This recipe keeps it simple, so each ingredient matters. Cocoa powder brings the bold chocolate flavor (and that dark color), while the combo of granulated sugar + brown sugar creates sweetness with a little extra moisture and depth. Eggs give structure so the bites hold their shape, and baking powder gives just a touch of lift so they don’t bake up dense. You can use melted butter for a classic brownie flavor or coconut oil for a slightly cleaner, softer finish.
- 1 cup gluten free all-purpose flour
- 1/2 cup cocoa powder
- 1/2 cup sugar
- 1/2 cup brown sugar
- 1/4 cup melted butter or coconut oil
- 2 large eggs
- 1 tsp vanilla extract
- 1/2 tsp baking powder
- 1/4 tsp salt
How to Make Gluten-Free Mini Brownie Bites
- Heat the oven and prep the pan. Preheat to 350°F (175°C). Grease a mini muffin tin well so the bites release cleanly.
- Whisk the dry ingredients thoroughly. In a medium bowl, whisk together the gluten-free flour, cocoa powder, sugar, brown sugar, baking powder, and salt. Take an extra 20–30 seconds here—you want the cocoa evenly dispersed so you don’t get bitter pockets.
- Mix the wet ingredients until smooth. In a separate bowl, stir the melted butter (or coconut oil), eggs, and vanilla until the mixture looks glossy and uniform.
- Combine wet + dry (don’t overmix). Pour the wet mixture into the dry ingredients and stir just until you stop seeing dry streaks. The batter should look thick and chocolatey; overmixing can make the texture less tender.
- Fill the tin. Spoon batter into the greased wells, filling each about 3/4 full. This gives them room to rise slightly without doming over the edges.
- Bake. Bake for 12–15 minutes, until the tops look set (not wet or shiny). A toothpick should come out clean.
- Cool briefly, then remove. Let them cool in the tin for a few minutes to firm up, then gently lift them out. They’re excellent warm, but the chocolate flavor deepens as they cool to room temperature.
Tips for Best Results
- Grease like you mean it. Mini muffin tins love to cling—thorough greasing helps you keep those smooth, brownie-bite sides intact.
- Whisk the cocoa well into the flour. Cocoa likes to clump; a good whisking makes the bites evenly dark and chocolatey.
- Stop mixing as soon as the batter comes together. The batter should be thick and uniform; once the last dry streak disappears, you’re done.
- Start checking at 12 minutes. These are small, and a minute too long can take them from fudgy to dry.
- Let them sit a few minutes before removing. Right out of the oven they’re delicate; a short rest helps them release in one piece.
If you love the brownie flavor but want a different format, you might also like brownie-style chocolate cookies for that chewy, crackly-top vibe.
Variations and Substitutions
- Butter vs. coconut oil: Butter gives a more classic brownie richness; coconut oil makes the crumb a bit softer and the chocolate taste slightly cleaner.
- More or less sweetness: You can dial the sugar down a little, but the texture will be less fudgy and a bit more dry—these rely on the sugars for moisture as well as sweetness.
- Gluten-free flour blends vary: Stick with a reliable gluten-free all-purpose blend you’ve baked with before for the most predictable structure.
For a quicker chocolate fix on hot days, I often make chocolate coconut bites instead—same cozy chocolate energy, zero oven.
How to Serve It
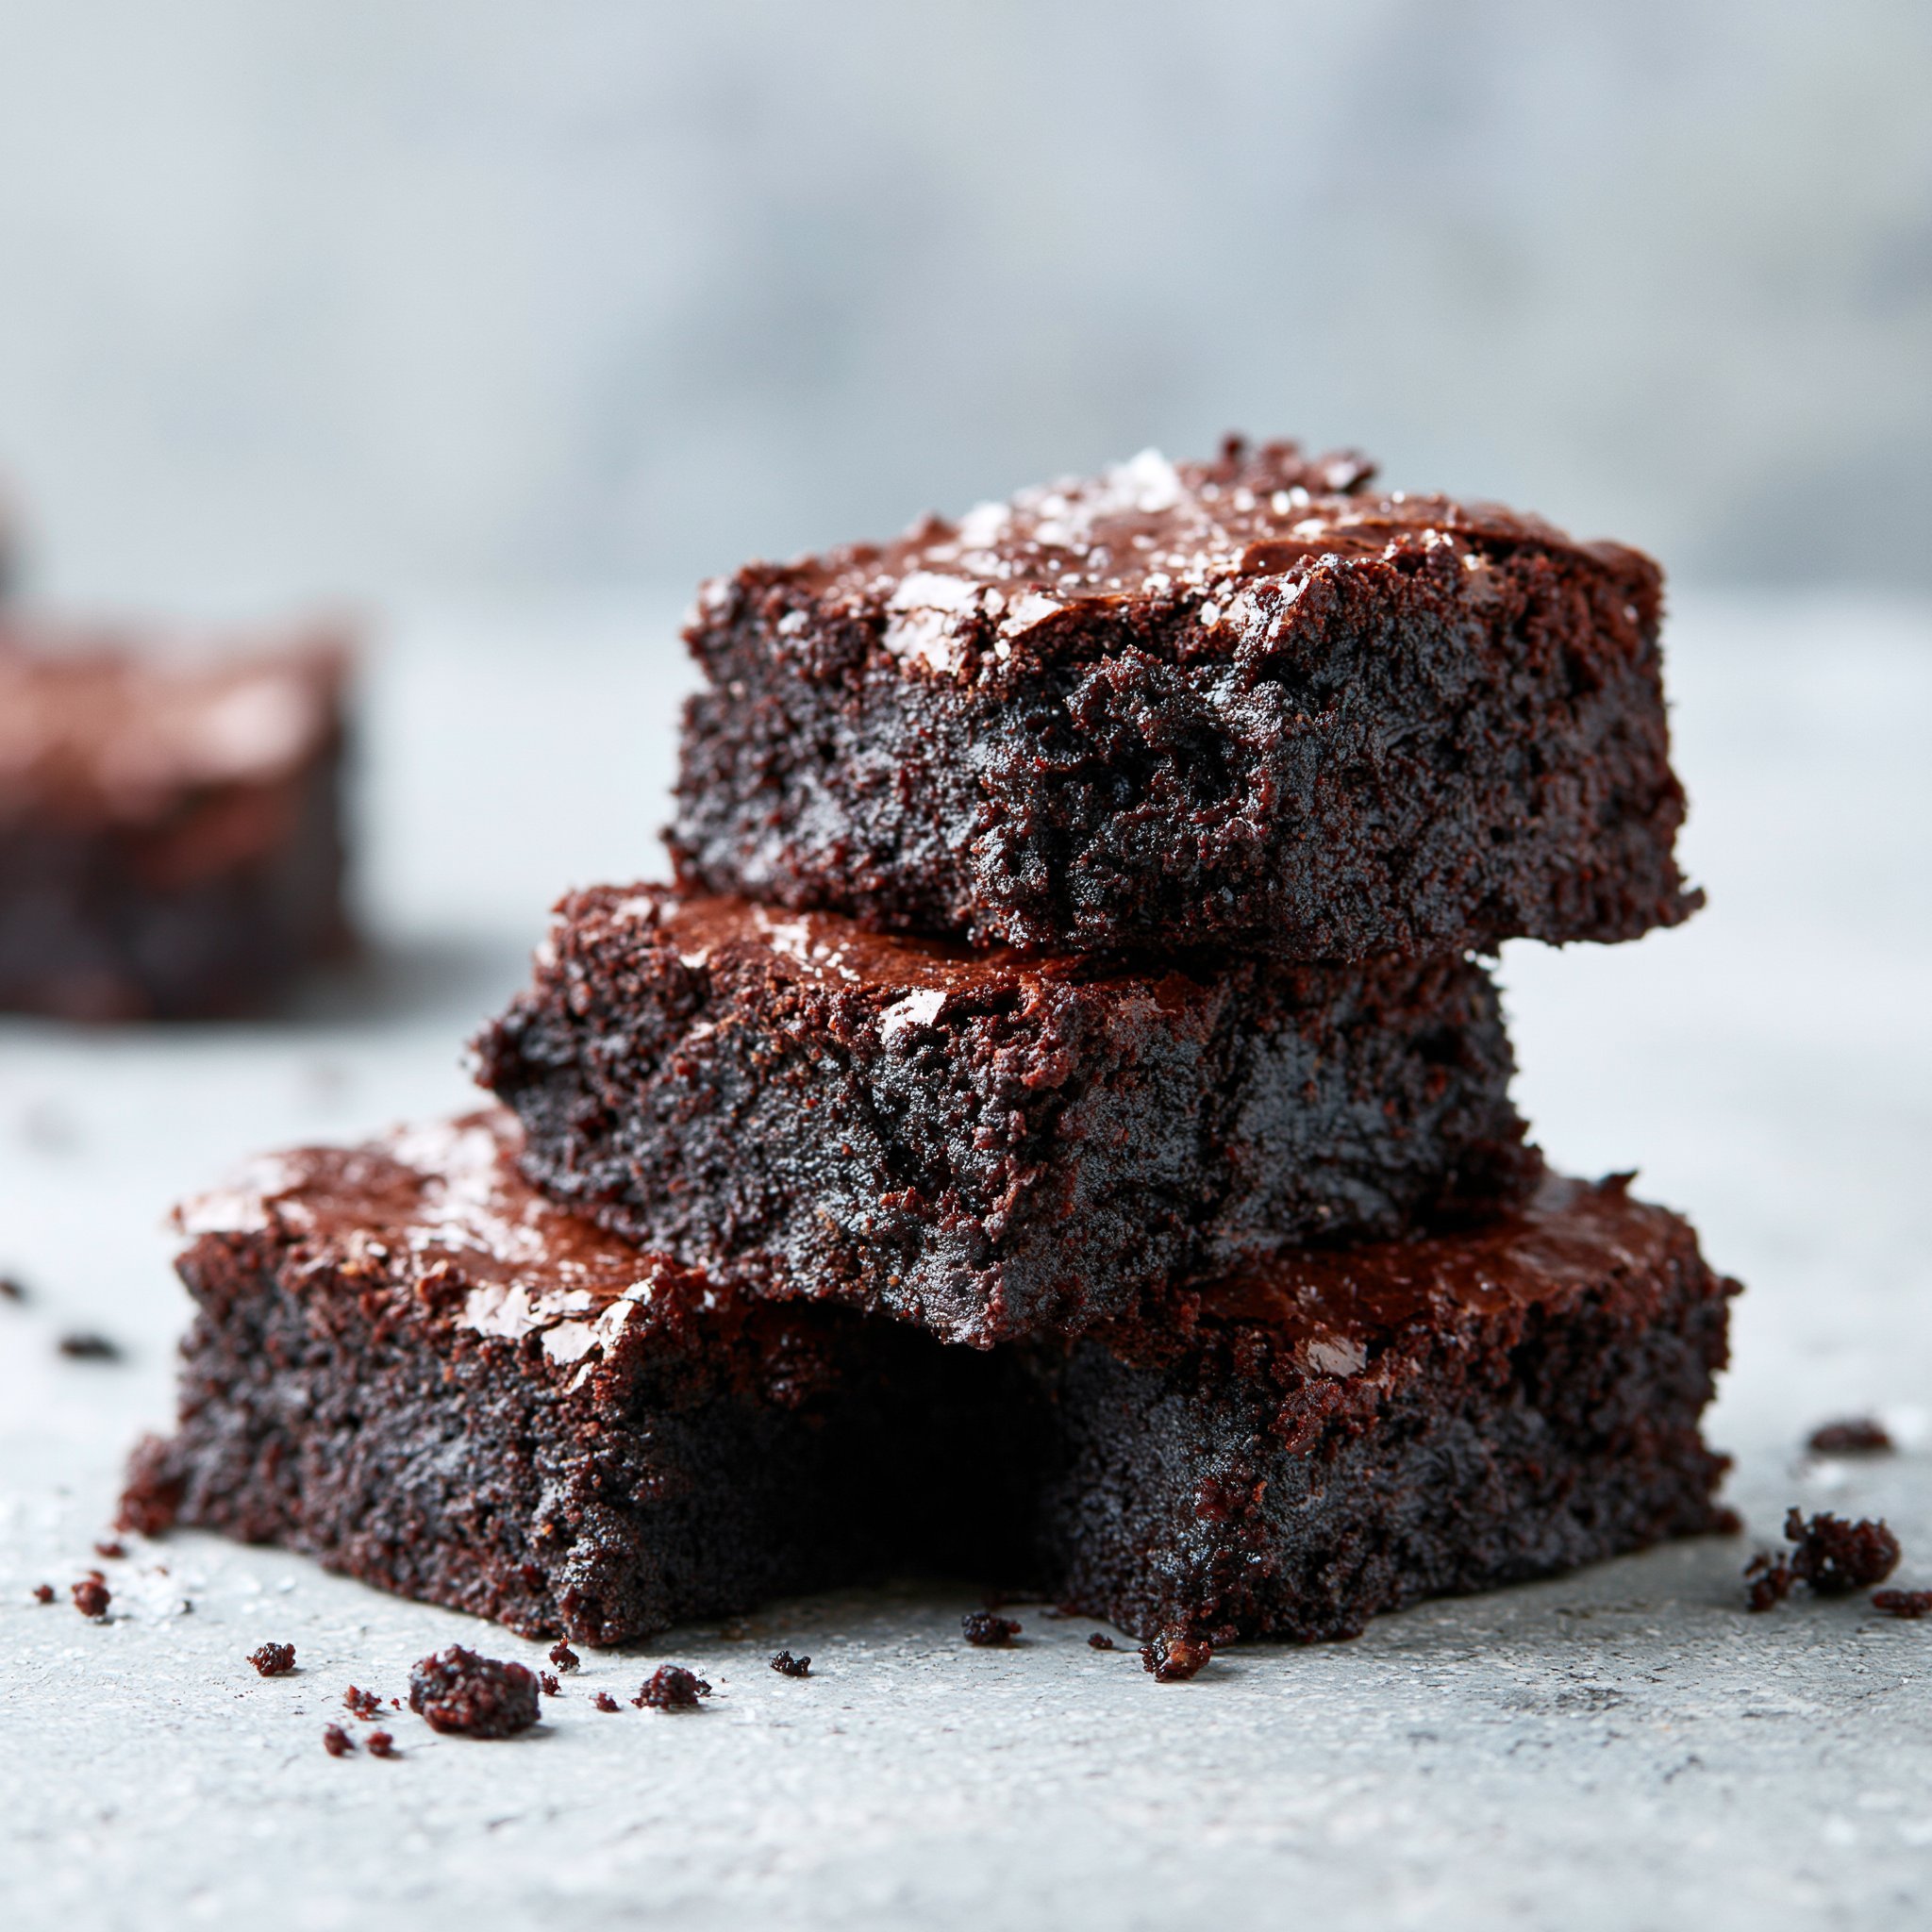
Serve them slightly warm for the fudgiest centers, or at room temperature if you want a cleaner bite and a deeper cocoa flavor. I like stacking them on a small platter so the glossy tops show off. If you’re putting together a dessert spread, pair them with something that contrasts their richness—like fresh fruit on the side or a simple hot coffee.
If you’re craving brownies but don’t want to turn on the oven, air fryer brownies are another great option for that quick, warm-chocolate payoff.
How to Store It
Once fully cooled, keep the brownie bites in an airtight container at room temperature for a couple of days so they stay soft. For longer keeping, refrigerate them (they’ll firm up a bit), and let them sit out briefly before serving if you want that fudgy texture back. They also freeze well—freeze in an airtight container, then thaw at room temperature.
Final Thoughts
These gluten-free mini brownie bites are straightforward, fast, and deeply chocolatey in a very classic way—set tops, tender middles, and just the right balance of sweetness and cocoa. If you keep a mini muffin tin around, this is the kind of recipe you’ll make once and then keep in regular rotation.
Conclusion
If you’re looking to compare textures and techniques, these three gluten-free brownie bite recipes are helpful references: fudgy gluten-free brownie bites, two-bite gluten-free brownies, and gluten-free brownie bites with a classic approach.