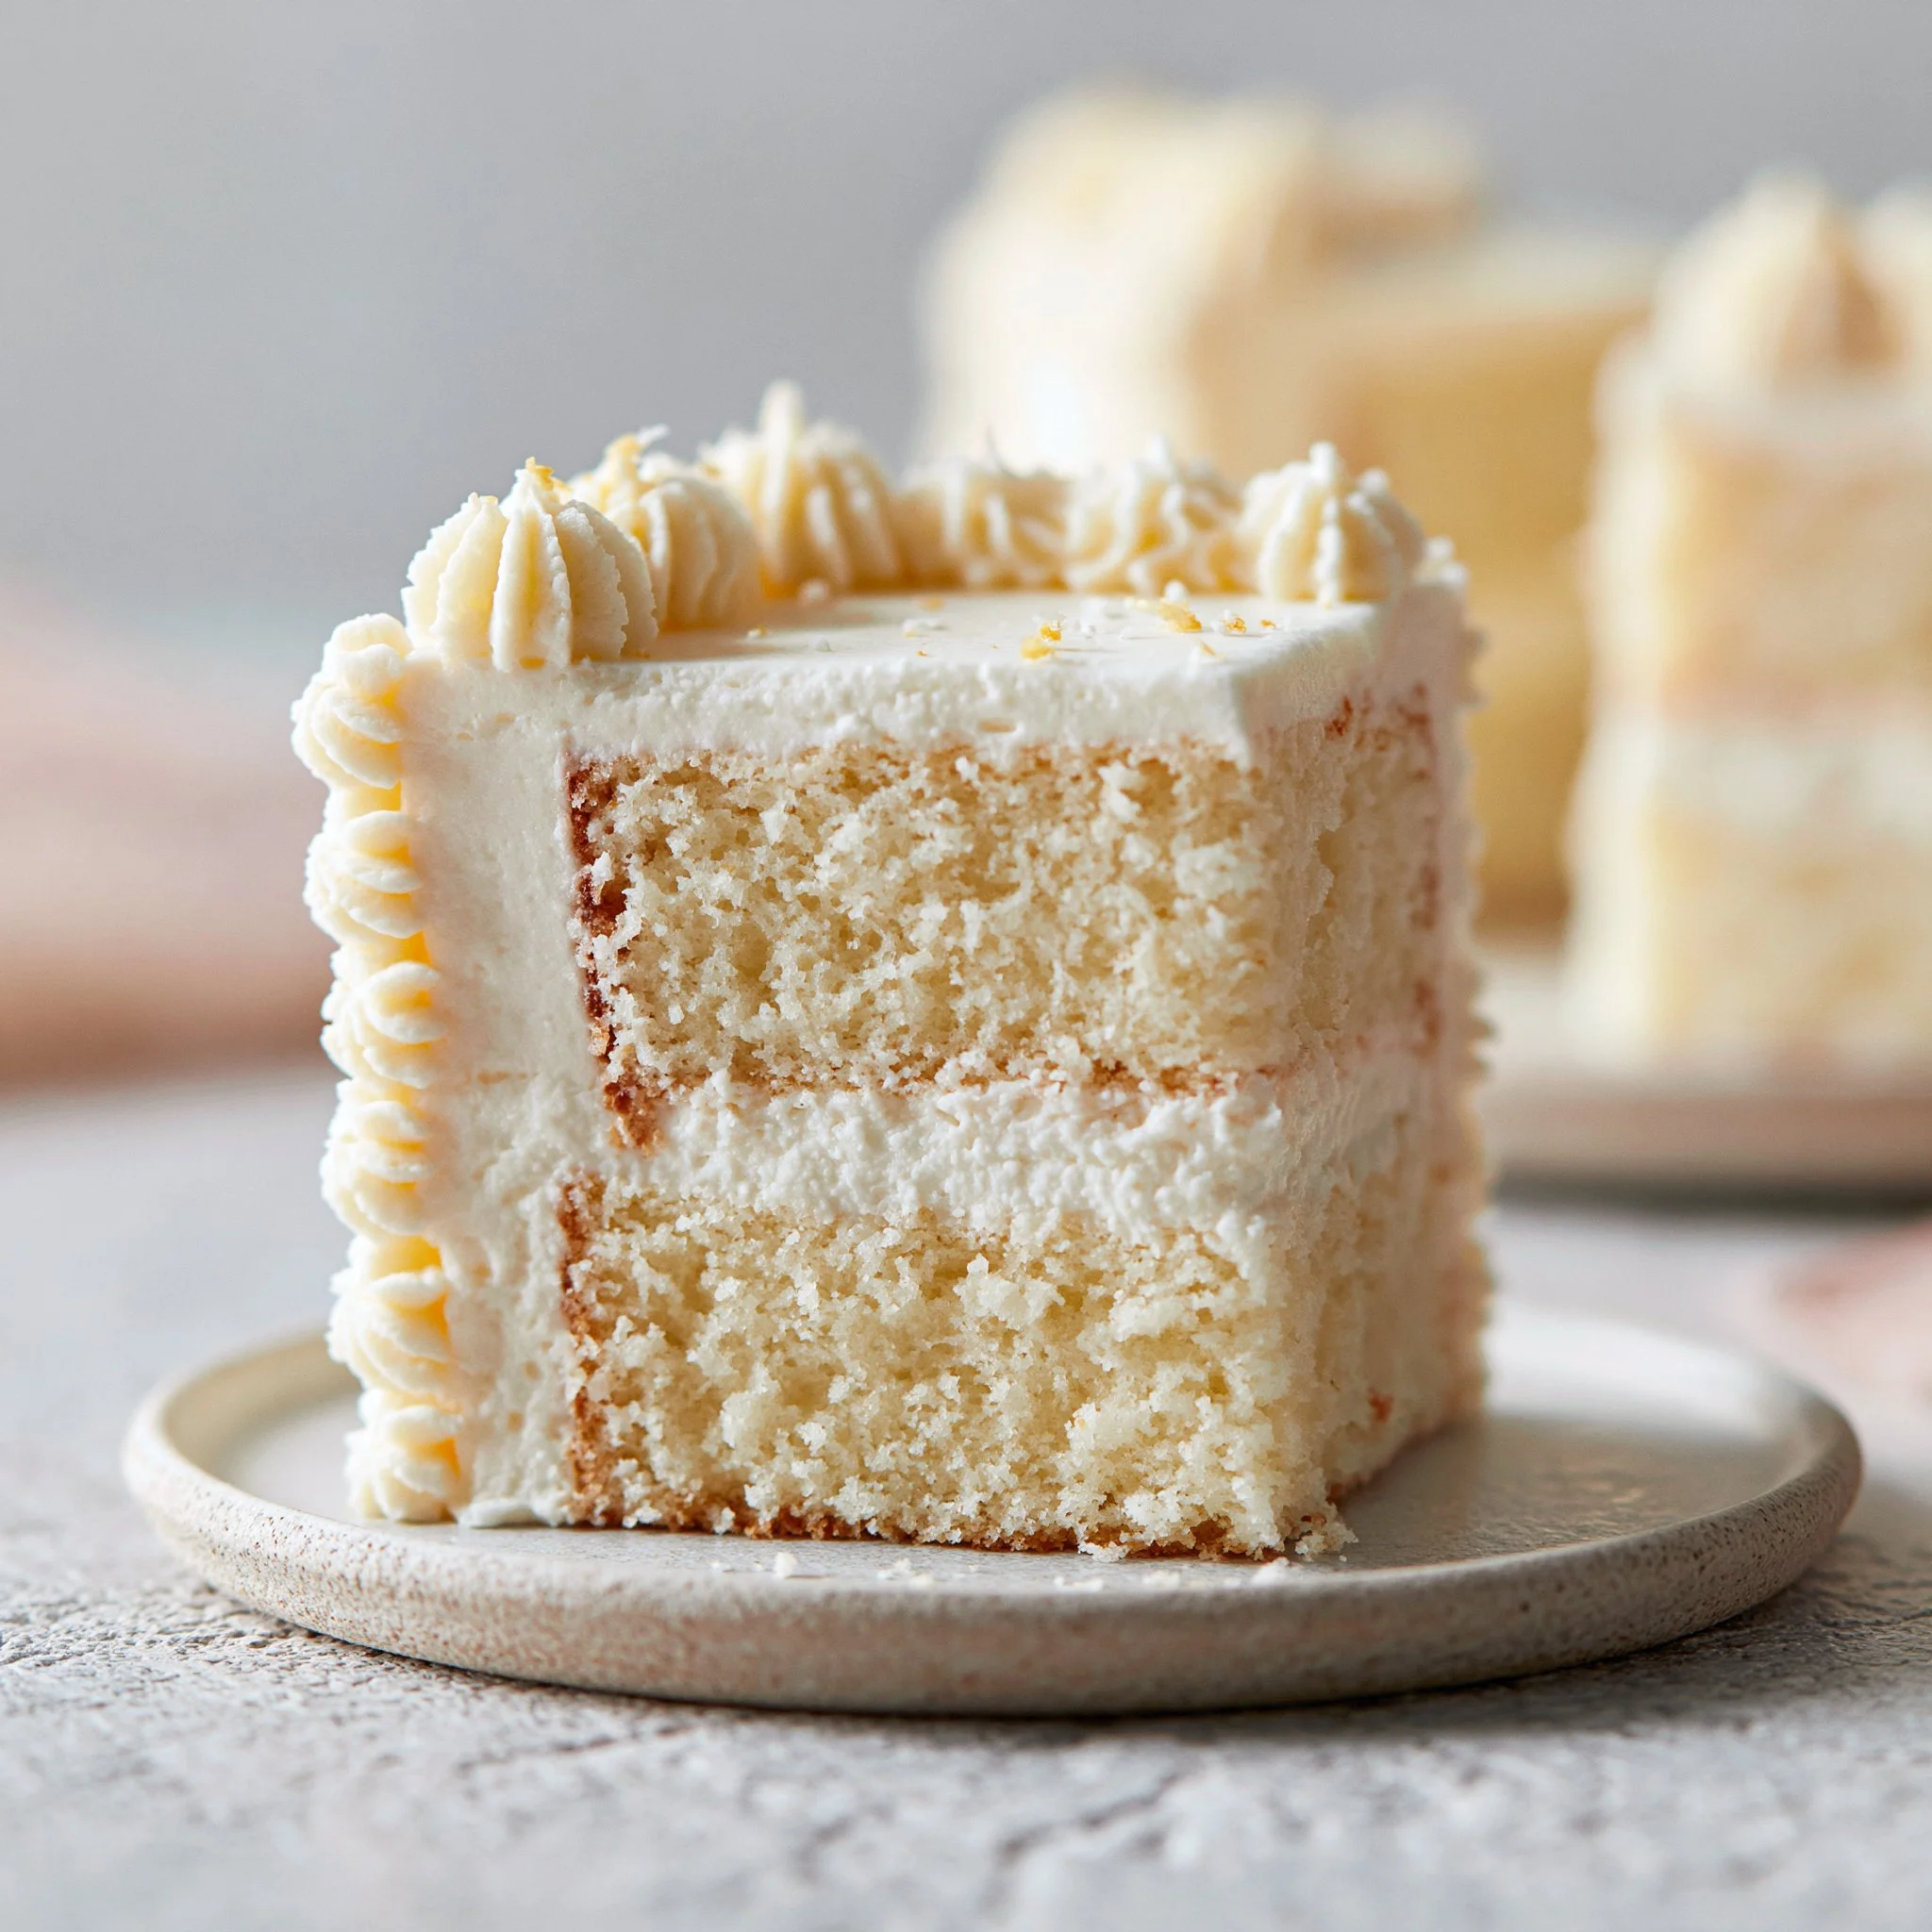
Bento Cake is a delightful little dessert that stands out not only for its charming appearance but also for its soft, moist texture and rich flavor. Imagine slicing into a cake that is perfectly layered, revealing vibrant colors from the frosting, all while being easy enough to whip up in your own kitchen. This cake is a true showstopper and is perfect for celebrations or just a cozy afternoon treat at home. You may also find Blog useful.
The richness of the buttery layers combined with a hint of vanilla creates a cake that comforts the soul. Each bite is a wonderful combination of sweetness and creaminess, enhanced by the decorative elements that make it inviting and fun to serve. It’s a cake that brings smiles both in its presentation and taste. You may also find Air Fryer Brownies useful.
Why You’ll Love This Recipe
- The layers of moist cake are complemented by a creamy frosting that melts in your mouth.
- It’s a straightforward recipe that doesn’t require advanced baking skills but looks incredibly impressive.
- The vibrant colors from food coloring allow for endless creative possibilities when decorating.
- It’s perfect for both intimate gatherings and larger celebrations, making it a versatile addition to your dessert repertoire.
- The cake can easily accommodate dietary preferences, whether you opt for a vegan butter or gluten-free flour.
The Story Behind This Recipe
Bento cakes have taken the dessert world by storm, often appearing in cafes and bakeries as a fun, portable treat. This recipe is a simple way to bring that trendy flair into your home baking. Whether for a birthday or just because, making a Bento cake can turn an everyday moment into something special. You may also find Healthy Chocolate Coconut Bites useful.
What It Tastes Like
This Bento Cake is beautifully sweet, with a balanced richness that doesn’t overwhelm the palate. The aroma wafting from the oven as it bakes is irresistible, inviting you to savor each slice. The cake itself is tender, while the frosting adds a smooth, creamy contrast that enhances the overall experience. The bright colors also make it visually appealing, creating an inviting dessert that truly delights. You may also find Homemade No Bake Granola Bars useful.
Ingredients You’ll Need
For this recipe, using high-quality butter and pure vanilla extract is key to achieving a rich flavor. The combination of all-purpose flour gives the cake a light yet satisfying crumb, while the heavy cream in the frosting ensures a beautifully fluffy texture. If you need a vegan alternative, plant-based butter and coconut cream can yield equally delicious results. You may also find Chocolate Brownie Cookies useful.
- 1 cup all-purpose flour (substitutable with almond flour for a gluten-free version)
- 1/2 cup granulated sugar (or coconut sugar for a less processed alternative)
- 1/4 cup unsalted butter, softened (plant-based butter works for vegan version)
- 1 large egg, room temperature (or 1/4 cup applesauce for egg-free option)
- 1/3 cup milk (almond or oat milk works beautifully)
- 1 teaspoon vanilla extract (pure, not imitation for the best flavor profile)
- 1 teaspoon baking powder
- 1/4 teaspoon salt
- 1 cup unsalted butter, softened (for frosting)
- 3 cups powdered sugar (sifted for smoother texture)
- 2 tablespoons heavy cream (coconut cream for dairy-free)
- 1 teaspoon vanilla extract (for frosting)
- Food coloring of choice (gel colors provide vibrant hues without affecting consistency)
- Piping bags with assorted tips (for decoration)
- Edible food markers (for decoration)
- Sprinkles, small candies, or fresh berries (optional for decoration)
How to Make Bento Cake
- Preheat your oven to 350°F (175°C) and line your 4-inch cake pan with parchment paper to prevent sticking.
- In a medium bowl, cream together the softened butter and sugar until light and fluffy, about 3-5 minutes.
- Add the egg and vanilla extract, mixing until fully incorporated and smooth.
- In a separate bowl, whisk together the flour, baking powder, and salt.
- Gradually add the dry mixture to your wet ingredients, alternating with the milk. Mix just until combined to avoid overmixing.
- Pour the batter into your prepared pan, smoothing the top with a spatula to create an even surface.
- Bake for 22-25 minutes, or until a toothpick inserted into the center comes out clean. Look for a golden top and a slight spring back when gently pressed.
- Allow your cake to cool in the pan for about 10 minutes before transferring it to a wire rack.
- Once cooled, use a serrated knife to level the top if it has domed during baking, then slice the cake horizontally into 2-3 even layers.
- For the frosting, beat the softened butter in a large bowl until creamy. Gradually add the powdered sugar and vanilla extract, mixing in the heavy cream until the frosting is light and fluffy.
- Set aside 1/3 of the frosting for the exterior of the cake. Divide the remaining frosting into bowls and add different food coloring as desired.
- Layer your cake by spreading a thin layer of frosting between each cake layer, then apply a crumb coat over the entire cake.
- Once the crumb coat has set, apply a final layer of frosting smooth out the surface.
- Use colored frosting in piping bags to create designs or messages on the cake. Decorate with edible markers, sprinkles, small candies, or fresh berries as desired.
Tips for Best Results
- Ensure your butter is at room temperature for easier creaming and a smoother frosting consistency.
- When frosting, use an offset spatula for a cleaner finish and to create textured designs.
- If using gel food coloring, start with a small amount and gradually add more for desired vibrancy without compromising consistency.
- For moisture retention, store leftovers in an airtight container at room temperature for a few days, or refrigerate for longer storage.
Variations and Substitutions
You can experiment with different flavors by adding citrus zest to the batter or using almond extract for a different flavor profile. Additionally, substituting almond flour for all-purpose flour will make this cake gluten-free, altering the texture slightly but still maintaining a delightful cake experience.
How to Serve It

Serve your Bento Cake chilled or at room temperature, showcasing its vibrant layers. Pair it with a dollop of whipped cream or a scoop of vanilla ice cream for an indulgent experience. This cake also makes a lovely centerpiece on a dessert table or as part of a picnic spread.
How to Store It
Store unused portions in an airtight container at room temperature for up to three days. For longer-lasting freshness, refrigerate for up to a week. You can also freeze individual slices; wrap them tightly in plastic wrap followed by aluminum foil for up to three months. Thaw at room temperature before enjoying.
Final Thoughts
Embracing the art of cake baking with this Bento Cake recipe can bring joy and creativity into your kitchen. I encourage you to try making this cake, not just for its beautiful presentation, but for the incredibly delicious experience it offers. There’s something so rewarding about creating a dessert from scratch, and this one is sure to become a favorite!
Conclusion
If you want to explore more about Bento cake, consider reading about this delightful Bento Cake. You can also check out some unique options available through Nino’s Bakery to inspire your baking ideas. Lastly, if you’re interested in taking a hands-on approach, joining a Bento Cake Workshop could be a fun way to enhance your skills!
Bento Cake
Ingredients
Method
- Preheat your oven to 350°F (175°C) and line your 4-inch cake pan with parchment paper to prevent sticking.
- In a medium bowl, cream together the softened butter and sugar until light and fluffy, about 3-5 minutes.
- Add the egg and vanilla extract, mixing until fully incorporated and smooth.
- In a separate bowl, whisk together the flour, baking powder, and salt.
- Gradually add the dry mixture to your wet ingredients, alternating with the milk. Mix just until combined to avoid overmixing.
- Pour the batter into your prepared pan, smoothing the top with a spatula to create an even surface.
- Bake for 22-25 minutes, or until a toothpick inserted into the center comes out clean. Look for a golden top and a slight spring back when gently pressed.
- Allow your cake to cool in the pan for about 10 minutes before transferring it to a wire rack.
- Once cooled, use a serrated knife to level the top if it has domed during baking, then slice the cake horizontally into 2-3 even layers.
- For the frosting, beat the softened butter in a large bowl until creamy. Gradually add the powdered sugar and vanilla extract, mixing in the heavy cream until the frosting is light and fluffy.
- Set aside 1/3 of the frosting for the exterior of the cake. Divide the remaining frosting into bowls and add different food coloring as desired.
- Layer your cake by spreading a thin layer of frosting between each cake layer, then apply a crumb coat over the entire cake.
- Once the crumb coat has set, apply a final layer of frosting to smooth out the surface.
- Use colored frosting in piping bags to create designs or messages on the cake. Decorate with edible markers, sprinkles, small candies, or fresh berries as desired.