The “secret” to these fudgy date brownies is simple: you turn Medjool dates and hot water into a glossy paste first, then build the batter right on top of it. That paste melts into the cocoa in the oven, giving you a deep chocolate chew and that dense, almost truffle-like center—without any granulated sugar.
If you like practical, small-batch bakes like this, you’ll probably enjoy browsing the dessert recipe collection for more ideas that lean cozy and no-fuss, with big payoff.
Why You’ll Love This Recipe
- The date paste gives a naturally caramel-like sweetness that makes the cocoa taste darker and more intense.
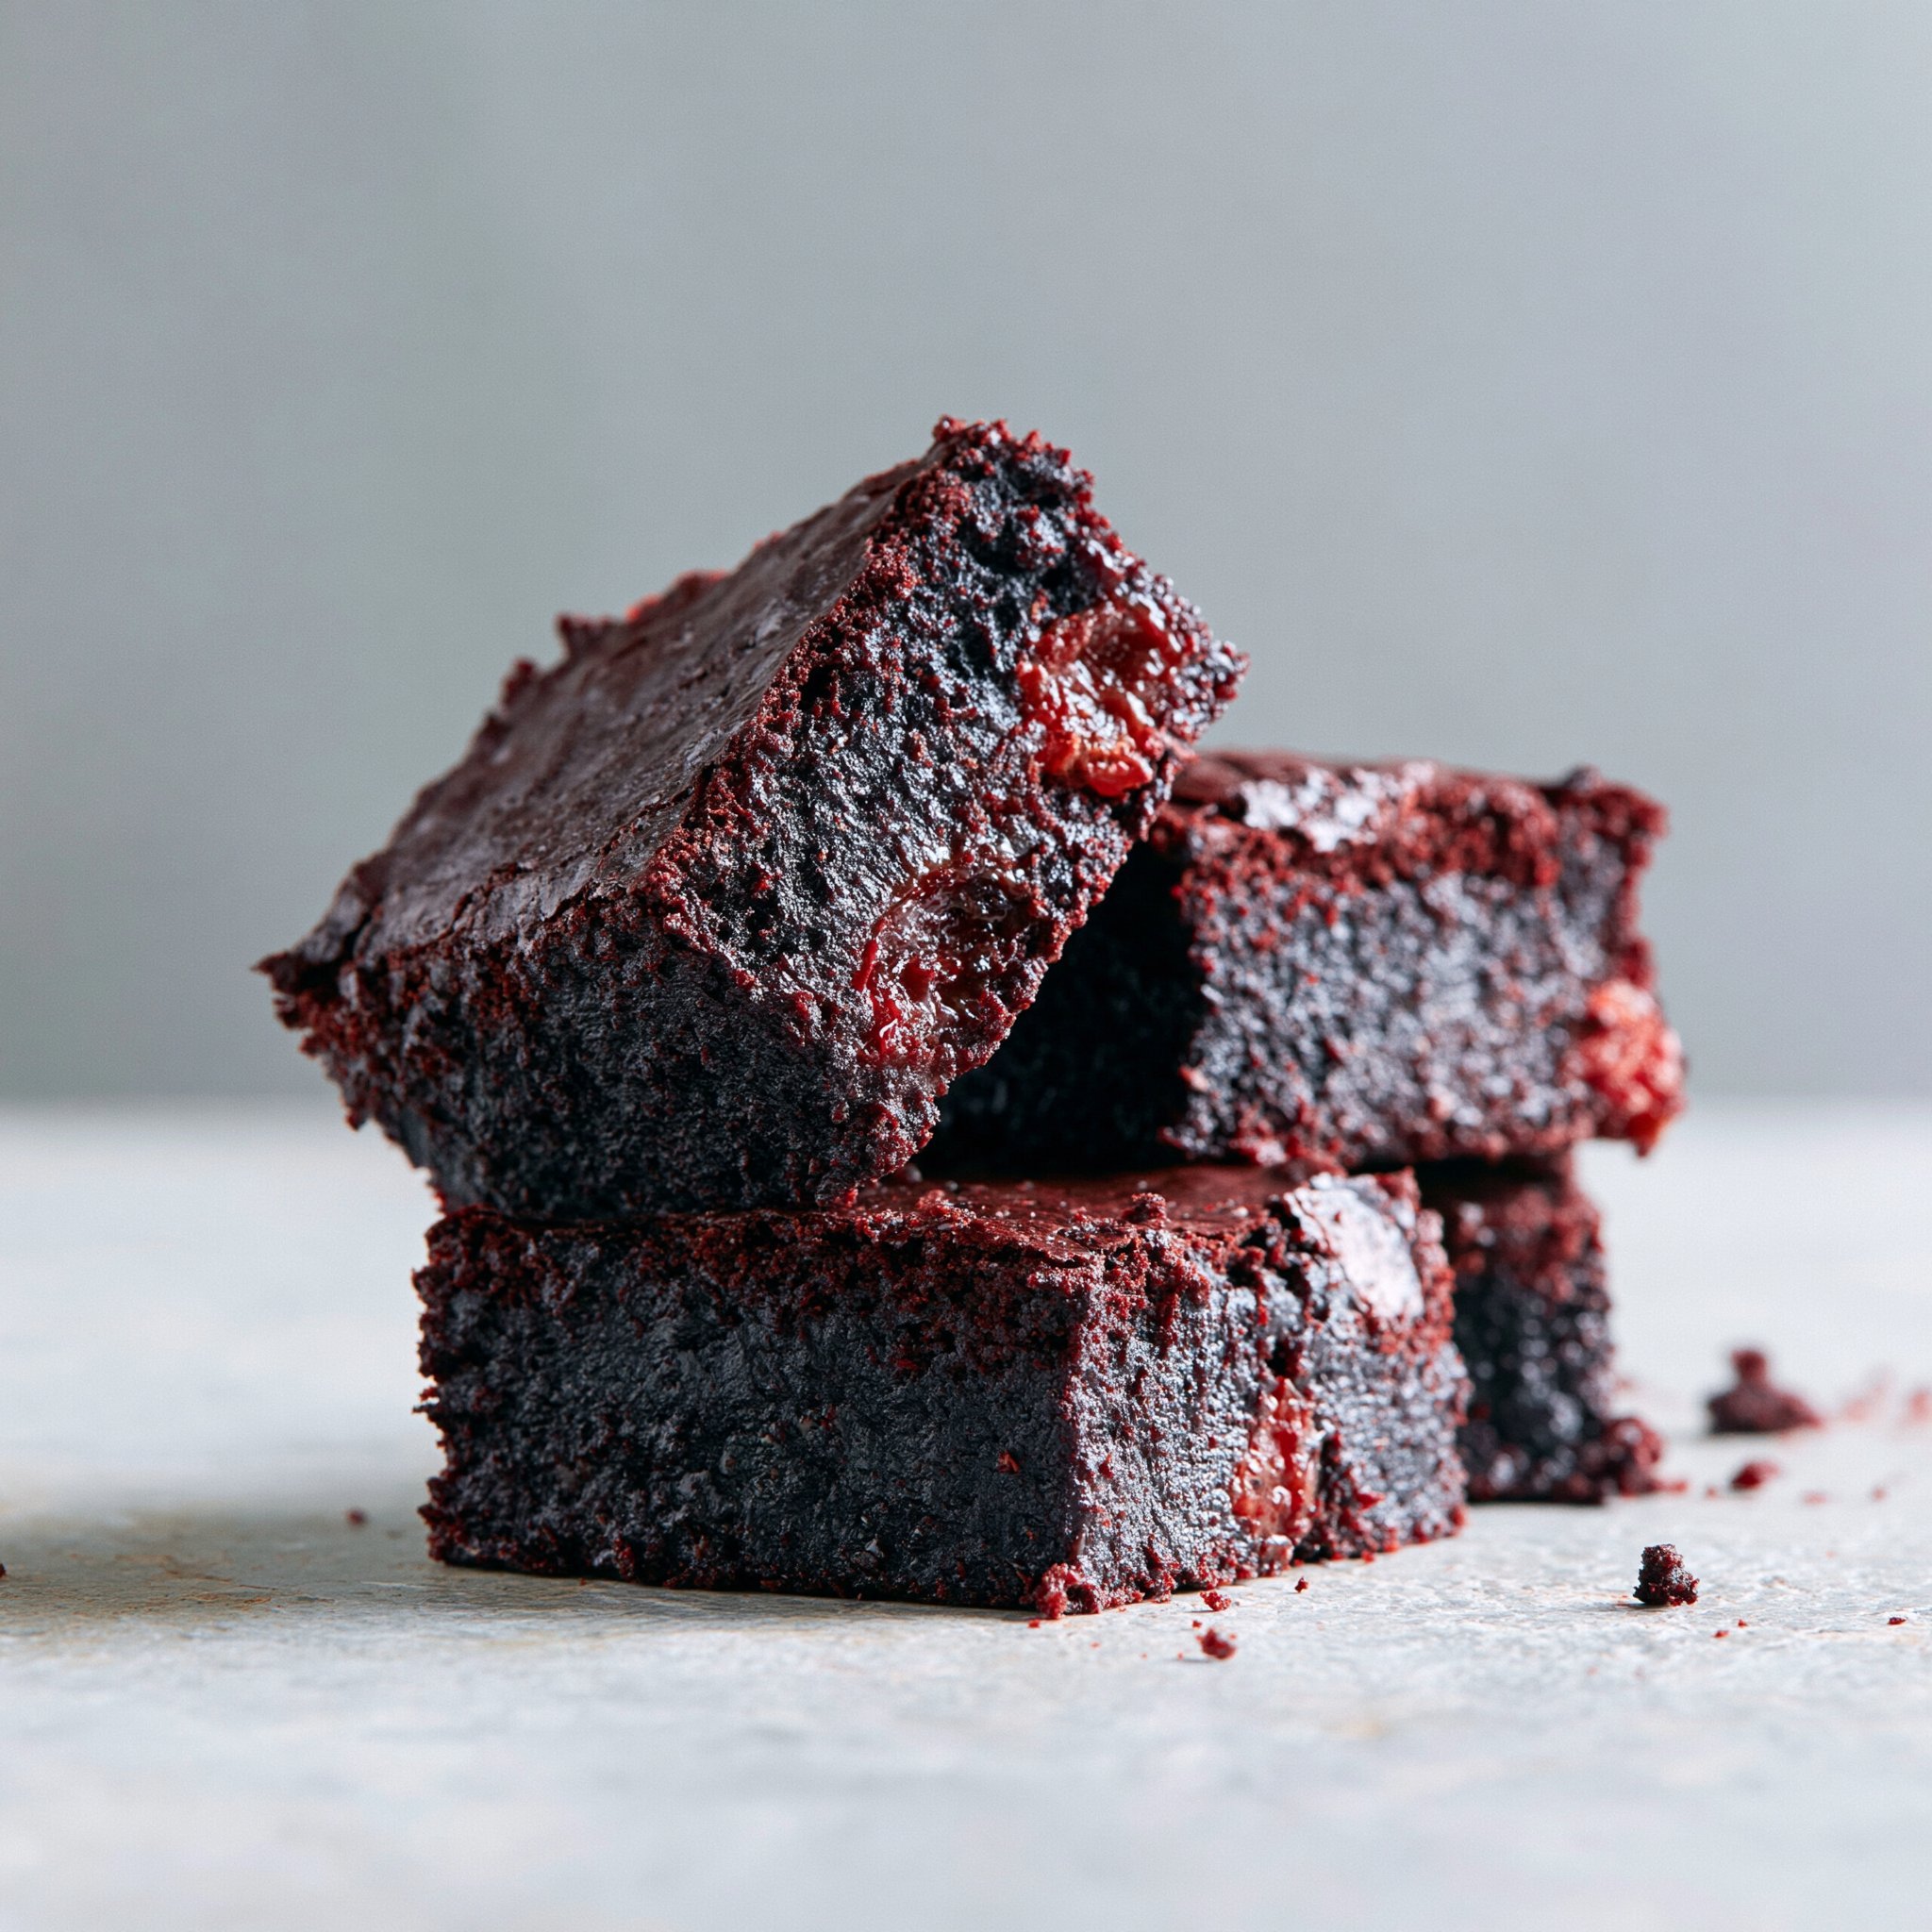
- The texture lands squarely in “fudgy”: set edges, soft center, and a slightly sticky bite once fully cooled.
- One food processor does the heavy lifting, so the batter comes together fast and evenly.
- Coconut oil adds richness and a smooth mouthfeel (and helps the brownies slice cleanly after cooling).
- Optional dark chocolate chips on top melt into little puddles and add a snappy finish when they cool.
The Story Behind This Recipe
I developed these on a weeknight when I wanted a brownie that felt indulgent but relied on pantry basics—dates, cocoa, eggs, and coconut oil—plus a quick spin in the food processor to make the batter smooth instead of gritty.
What It Tastes Like
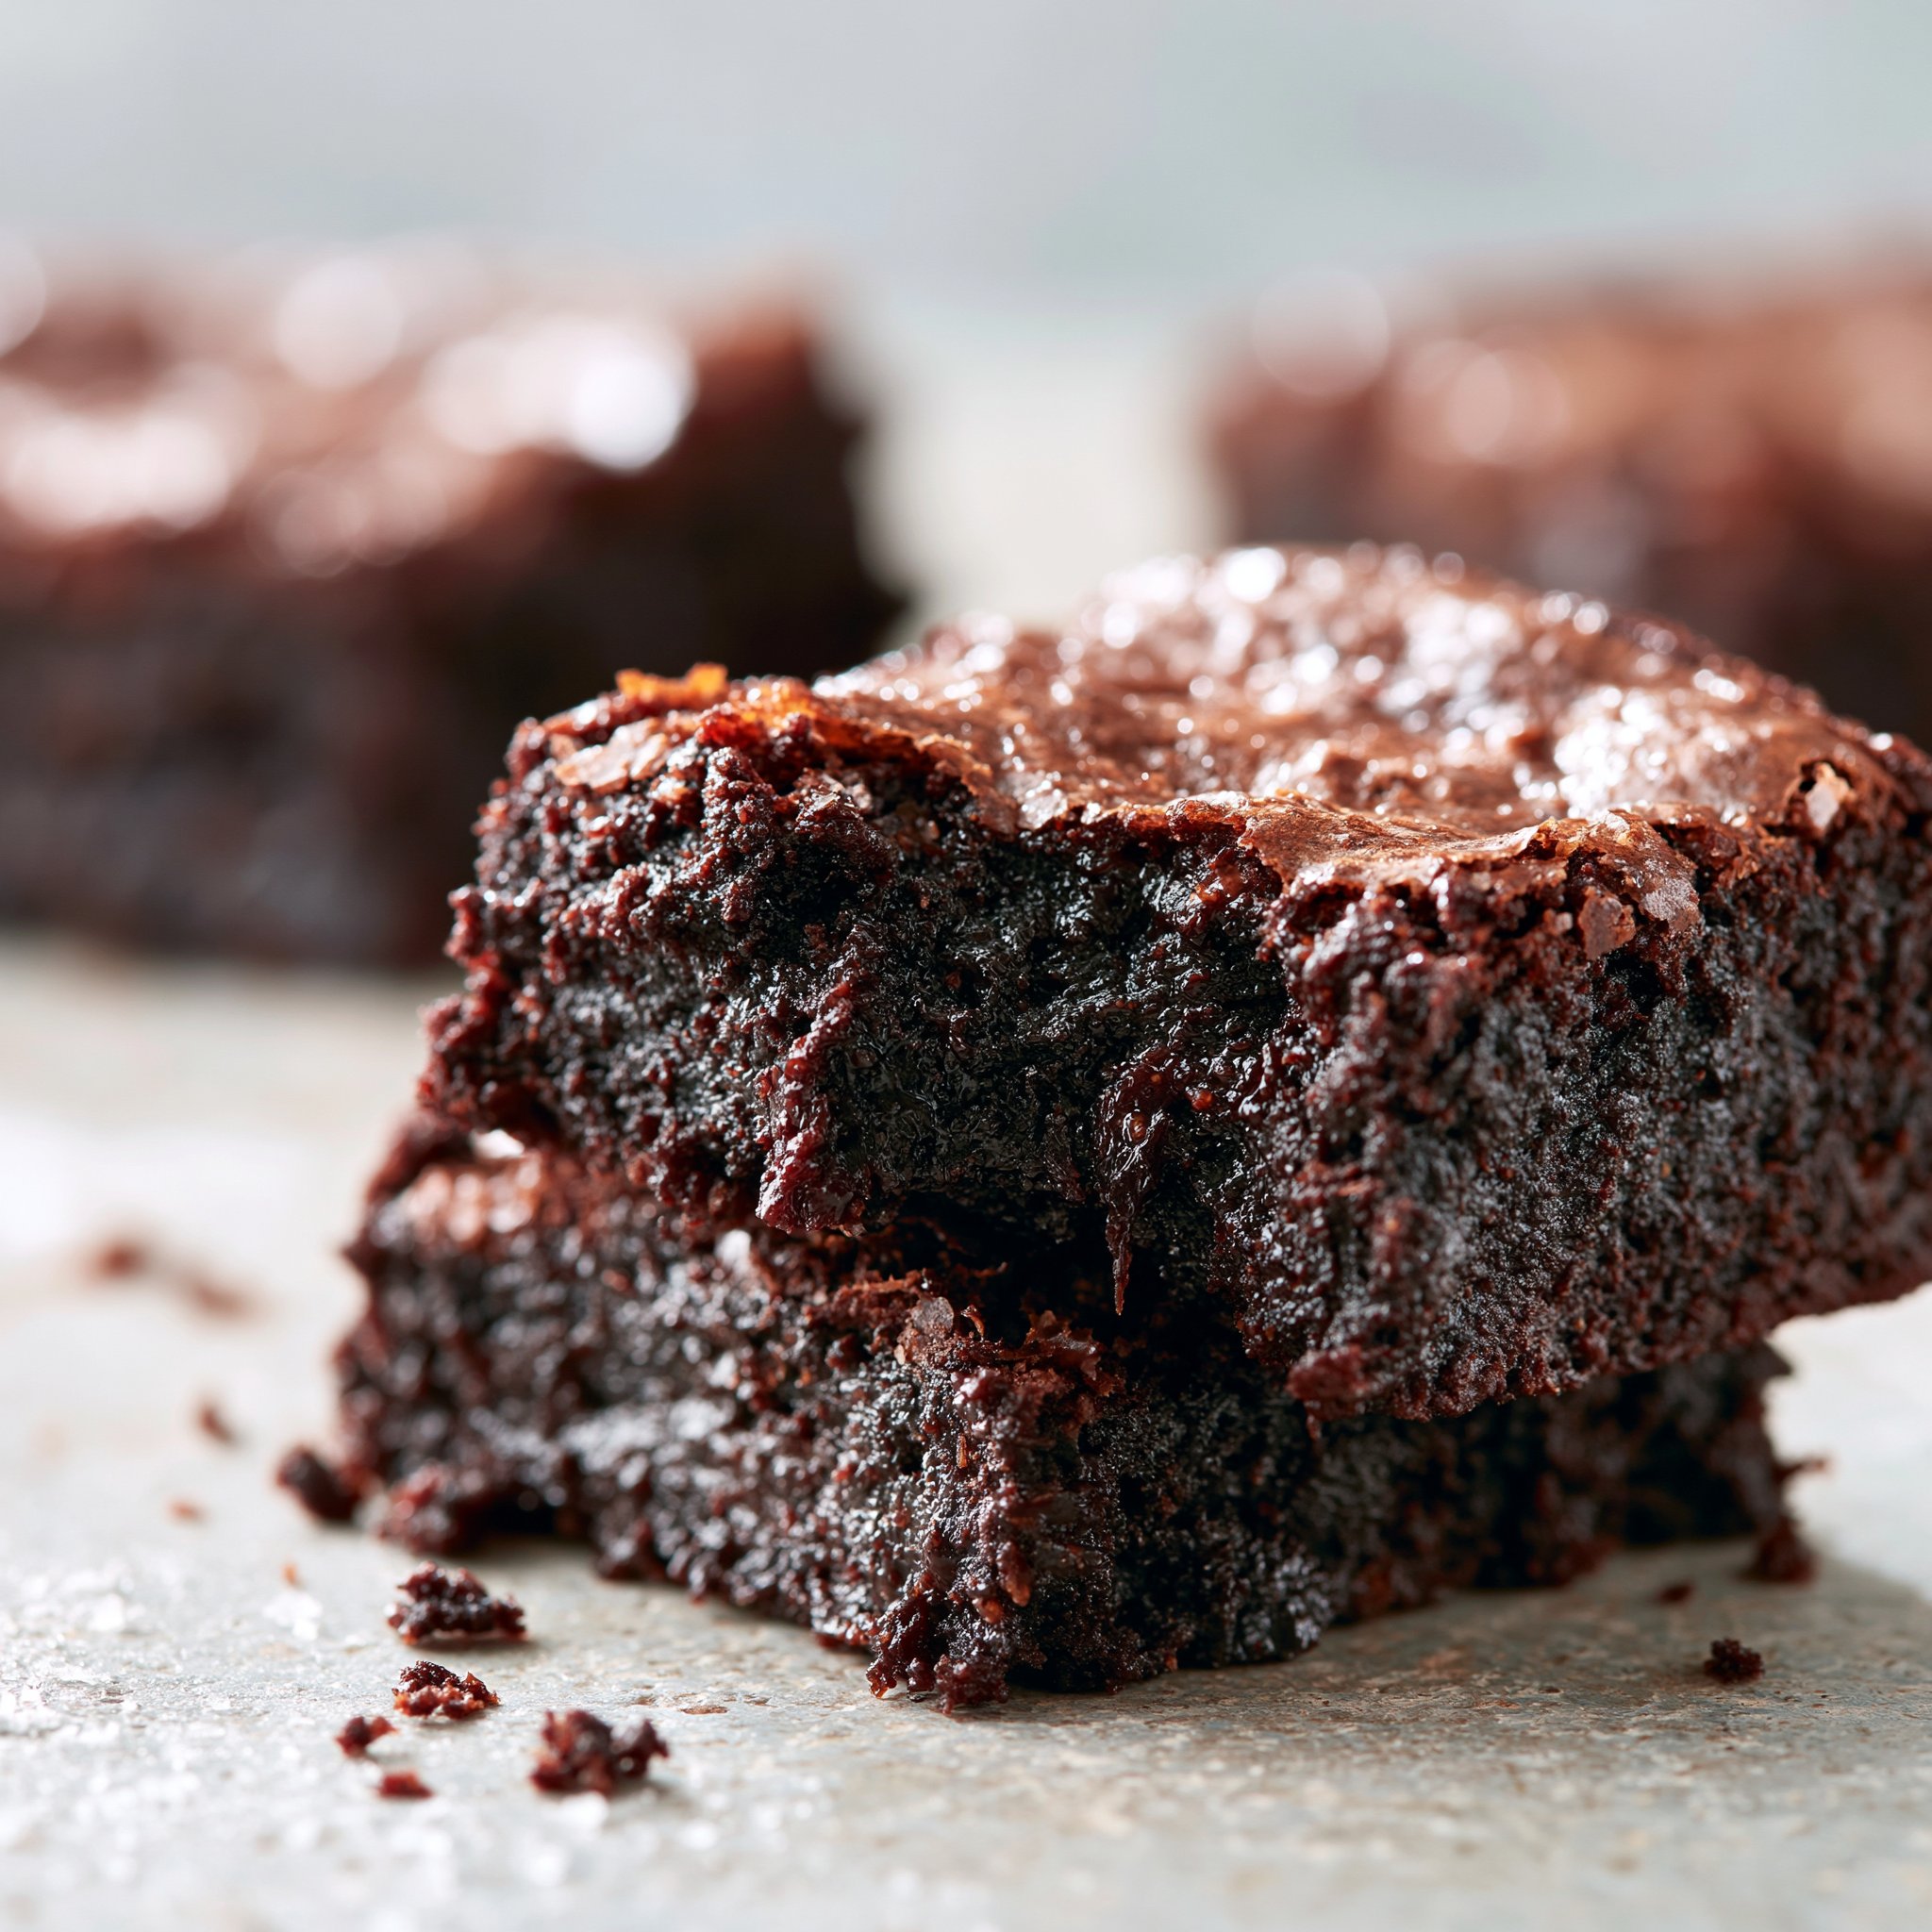
They taste like a deep, cocoa-forward brownie with a subtle toffee note from the Medjool dates. You’ll smell warm vanilla and chocolate as they bake, and the finished squares have that classic brownie contrast: slightly firmer edges and a center that stays dark, moist, and fudgy rather than cakey.
Ingredients You’ll Need
Medjool dates are doing the sweetening and the binding here, so choose soft, sticky ones (if they feel dry, they won’t blend as smoothly). Hot water helps them turn into a thick paste, and cocoa powder brings the main chocolate flavor—use unsweetened for the right balance. Coconut oil makes the crumb rich and cohesive, while eggs give structure so the brownies set up (but still stay dense).
- 1 cup Medjool dates, pitted and packed
- 1/2 cup hot water
- 1/2 cup unsweetened cocoa powder
- 1/4 cup coconut oil, melted
- 2 large eggs
- 1 teaspoon vanilla extract
- 1/2 teaspoon baking powder
- 1/4 teaspoon salt
- 1/2 cup dark chocolate chips (optional, for topping)
How to Make Fudgy Date Brownies: 1 Amazing Secret
- Heat and prep the pan. Preheat your oven to 350°F (175°C). Line an 8×8-inch baking pan with parchment paper so you can lift the brownies out cleanly later (fudgy brownies like these stick without it).
- Make the date paste (the secret). In a food processor, blend the pitted Medjool dates with the hot water until a smooth, thick paste forms. Scrape down the sides once or twice—your goal is a paste that looks glossy and uniform, not chunky.
- Blend in the rich ingredients. Add the melted coconut oil, eggs, and vanilla extract to the date paste. Process until fully combined and silky. The mixture should look darker and looser than the pure date paste, but still thick.
- Mix the dry ingredients separately. In a bowl, whisk together the cocoa powder, baking powder, and salt. This quick whisk breaks up cocoa lumps so you don’t get bitter pockets in the baked brownies.
- Combine without overworking. Add the dry mixture to the food processor and pulse just until you don’t see dry streaks. Stop as soon as it comes together—overmixing can make the brownies bake up a little tougher instead of plush.
- Pan and top. Scrape the batter into the prepared pan and spread it evenly. The batter is thick; press it into the corners and smooth the top. If using, sprinkle dark chocolate chips over the surface.
- Bake for fudgy doneness. Bake 20–25 minutes, until the edges look set and slightly puffed, and the center no longer looks wet or glossy. You’re aiming for “set but soft”—it will continue to firm as it cools.
- Cool completely, then slice. Let the brownies cool all the way in the pan before cutting. This is when the fudgy texture fully sets and the squares become neat instead of sticky.
Tips for Best Results
- Pack the dates into the measuring cup. This recipe depends on the dates for sweetness and structure; a loose cup can throw off the texture and make the brownies less cohesive.
- Scrape the processor bowl often. Dates love to cling to the sides—scraping ensures a smoother paste and a more even, fudge-like crumb.
- Watch the center, not the clock. At 20 minutes the middle should look set (not shiny), but still feel soft; baking until fully firm will push the texture toward dry.
- Cool before cutting—seriously. Warm brownies will feel underbaked even when they’re perfect; once cool, they slice into dense squares with clean edges.
- For extra chocolate impact, use the chips. They melt on top and give you little bursts of dark chocolate that contrast with the date sweetness.
Variations and Substitutions
If you’re craving a different brownie vibe, you can skip the chocolate chips for a smooth, matte top (the brownie flavor reads slightly more “cocoa pure”). For more chocolate texture without changing the batter, lean into the topping—this is the same kind of “extra chocolate on top” trick I love in chocolate brownie cookies.
If you don’t want to turn on the oven, you might prefer a chilled, snack-style chocolate bite like these chocolate coconut bites—different texture, same dessert satisfaction.
How to Serve It
Serve these slightly cool or at room temperature for the fudgiest bite (the chocolate flavor tastes deeper once they’ve had time to settle). I like cutting them into smaller squares because they’re rich, especially with the dark chocolate chips on top. For an easy dessert plate, pair with coffee or a cold glass of milk. If you’re building a snack tray, add something chewy-and-oaty alongside, like homemade no-bake granola bars, for contrast.
How to Store It
Store the brownies in an airtight container. They keep well at cool room temperature for a couple of days, but I prefer the fridge for a firmer, extra-fudgy texture. If refrigerating, let a square sit out for a few minutes before eating if you want it softer. They also freeze nicely: slice first, then freeze the squares in a sealed container; thaw at room temperature until the center loses its chill.
Final Thoughts
These brownies are a great reminder that “fudgy” is more about method than fuss: blend a smooth date paste, keep the batter thick, bake just until set, and let them cool before you judge the center.
Conclusion
If you want to compare a couple of other takes on the same idea, you can check out Fudgy Date Brownies – Sweet As Honey for another date-sweetened version, Secretly Healthy Chickpea Brownies for a legume-based twist, or No-Bake Fudgy Vegan Brownies – The Healthy Toast if you’re after a no-oven option. And if you’re simply trying to satisfy a brownie craving fast, you might also like the shortcut approach in these air fryer brownies.
Fudgy Date Brownies
Ingredients
Method
- Preheat your oven to 350°F (175°C) and line an 8x8-inch baking pan with parchment paper.
- In a food processor, blend the pitted Medjool dates with the hot water until a smooth, thick paste forms. Scrape down the sides as needed.
- Add the melted coconut oil, eggs, and vanilla extract to the date paste. Process until fully combined.
- In a bowl, whisk together the cocoa powder, baking powder, and salt.
- Add the dry mixture to the food processor and pulse just until no dry streaks remain. Do not overmix.
- Pour the batter into the prepared pan, smoothing the top. If using, sprinkle dark chocolate chips on top.
- Bake for 20-25 minutes until edges are set and center looks soft.
- Let the brownies cool completely in the pan before slicing into pieces.