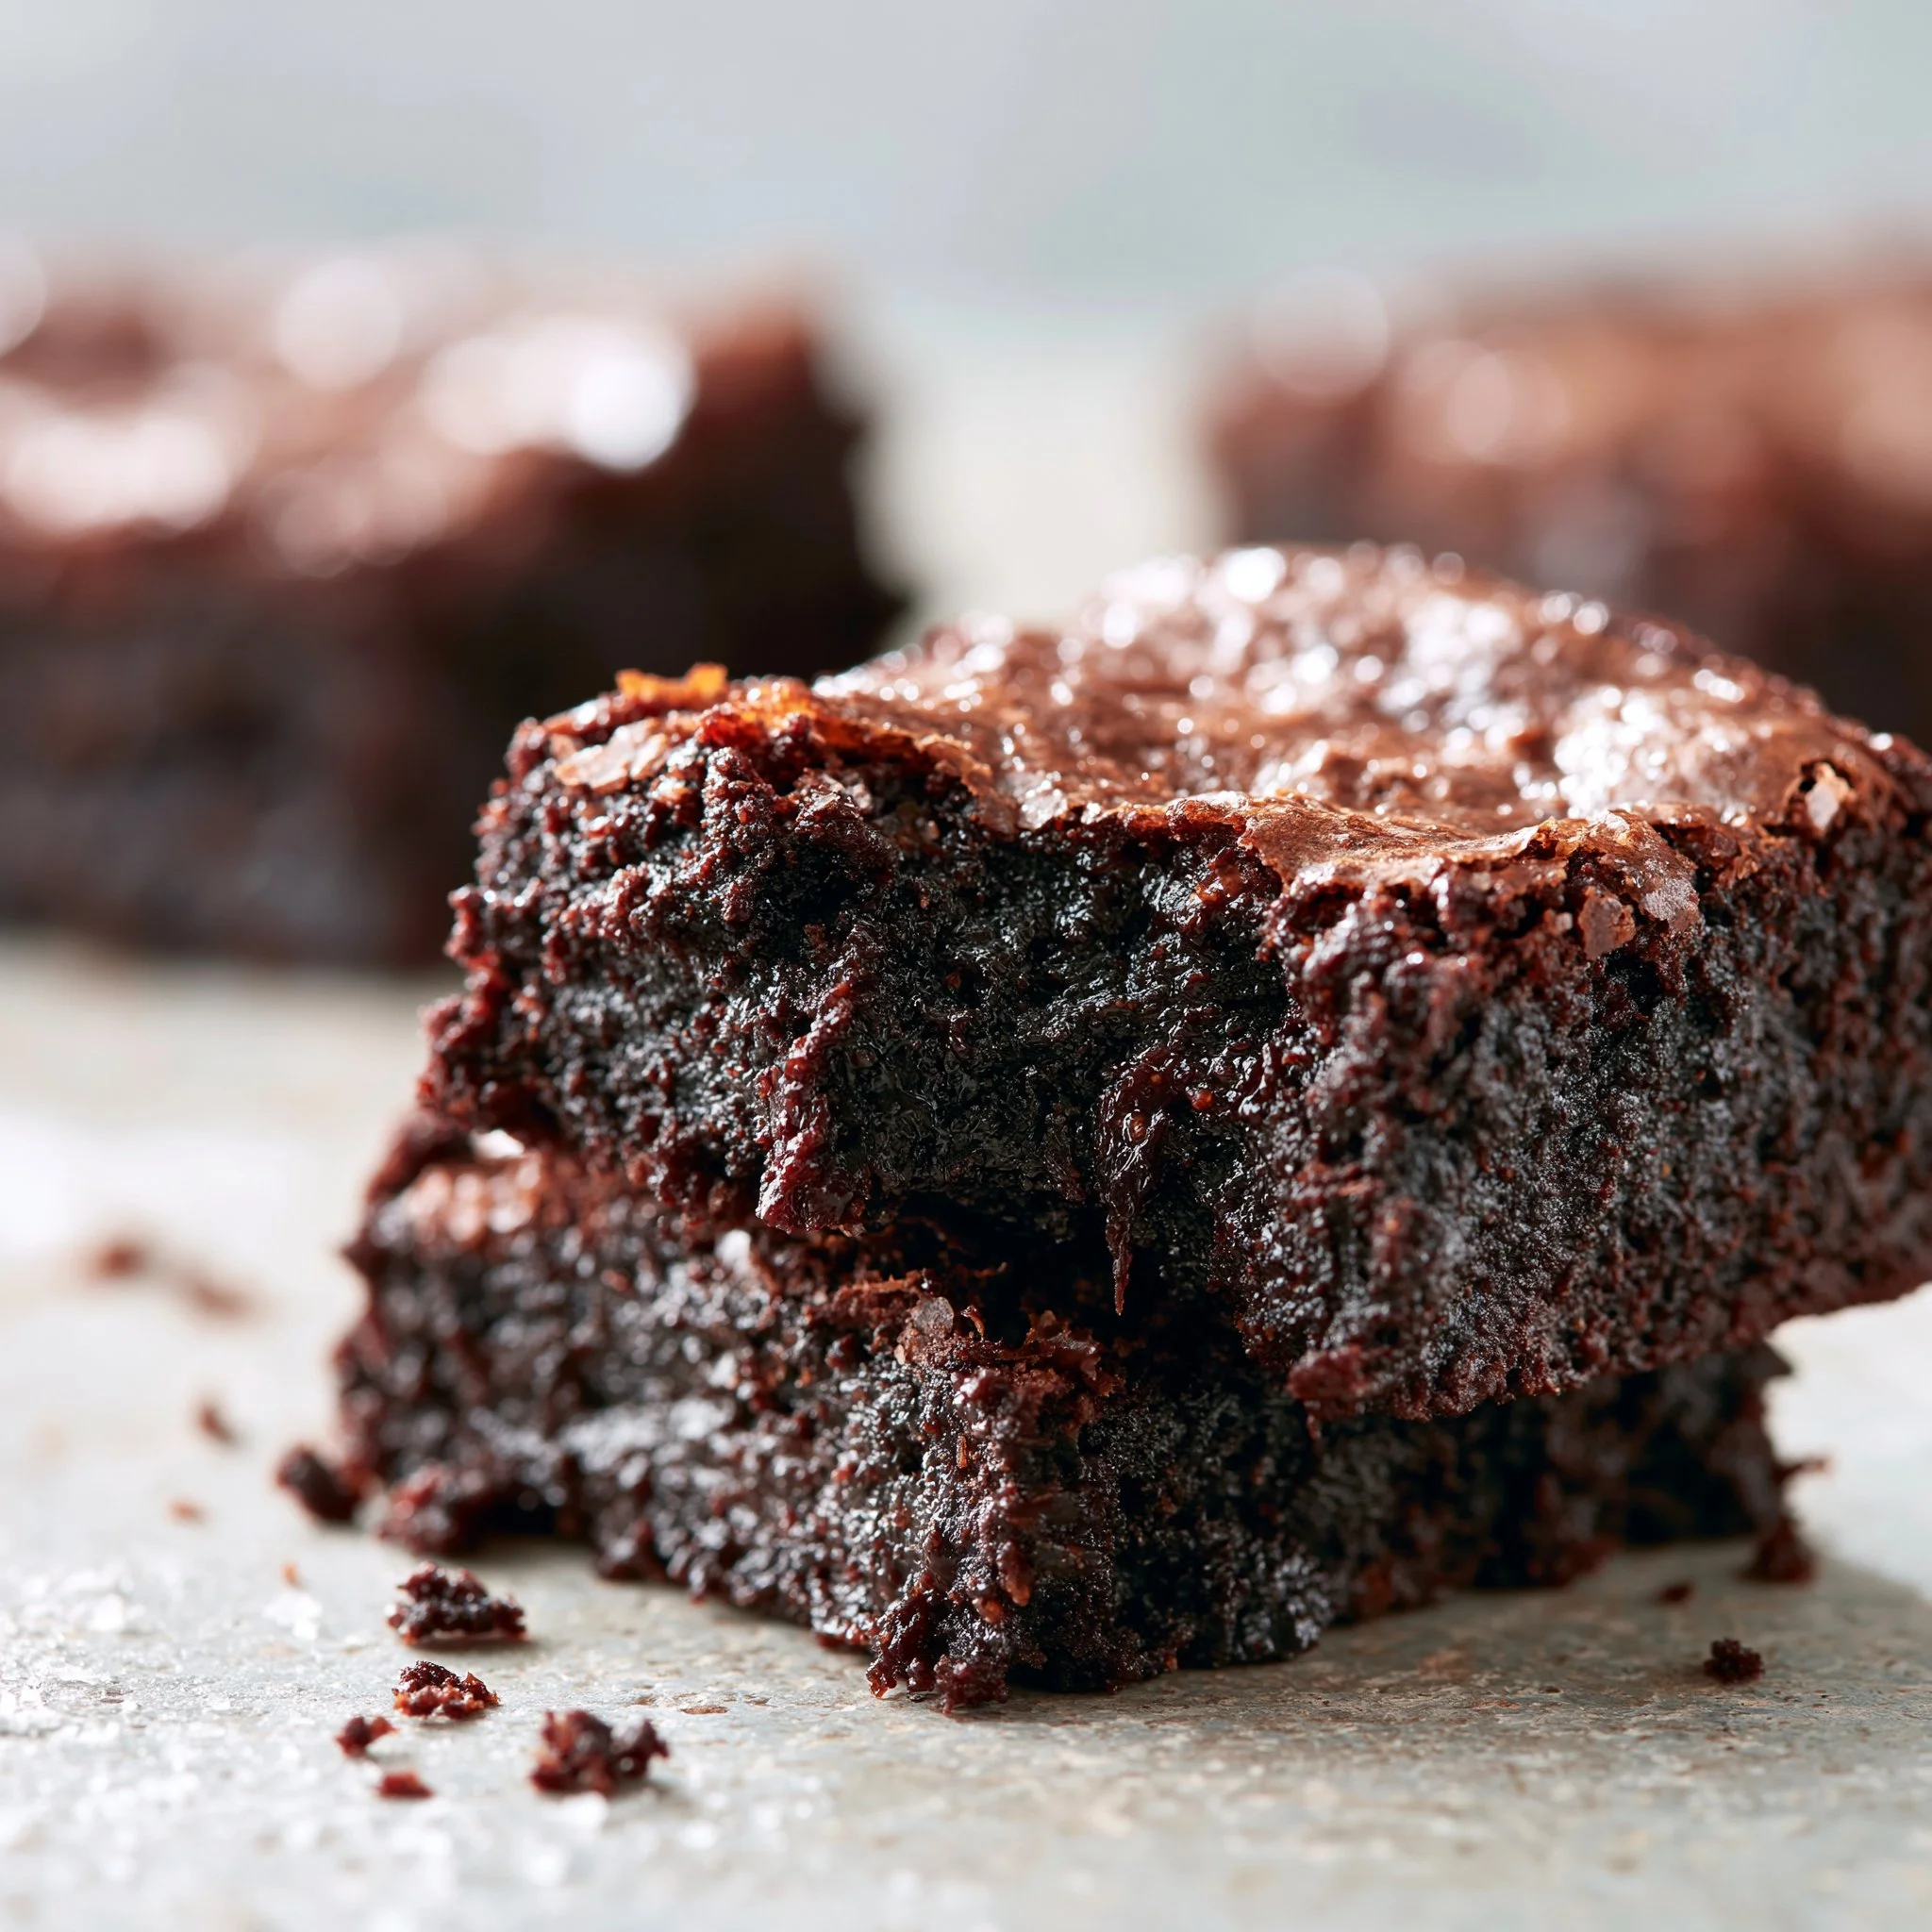
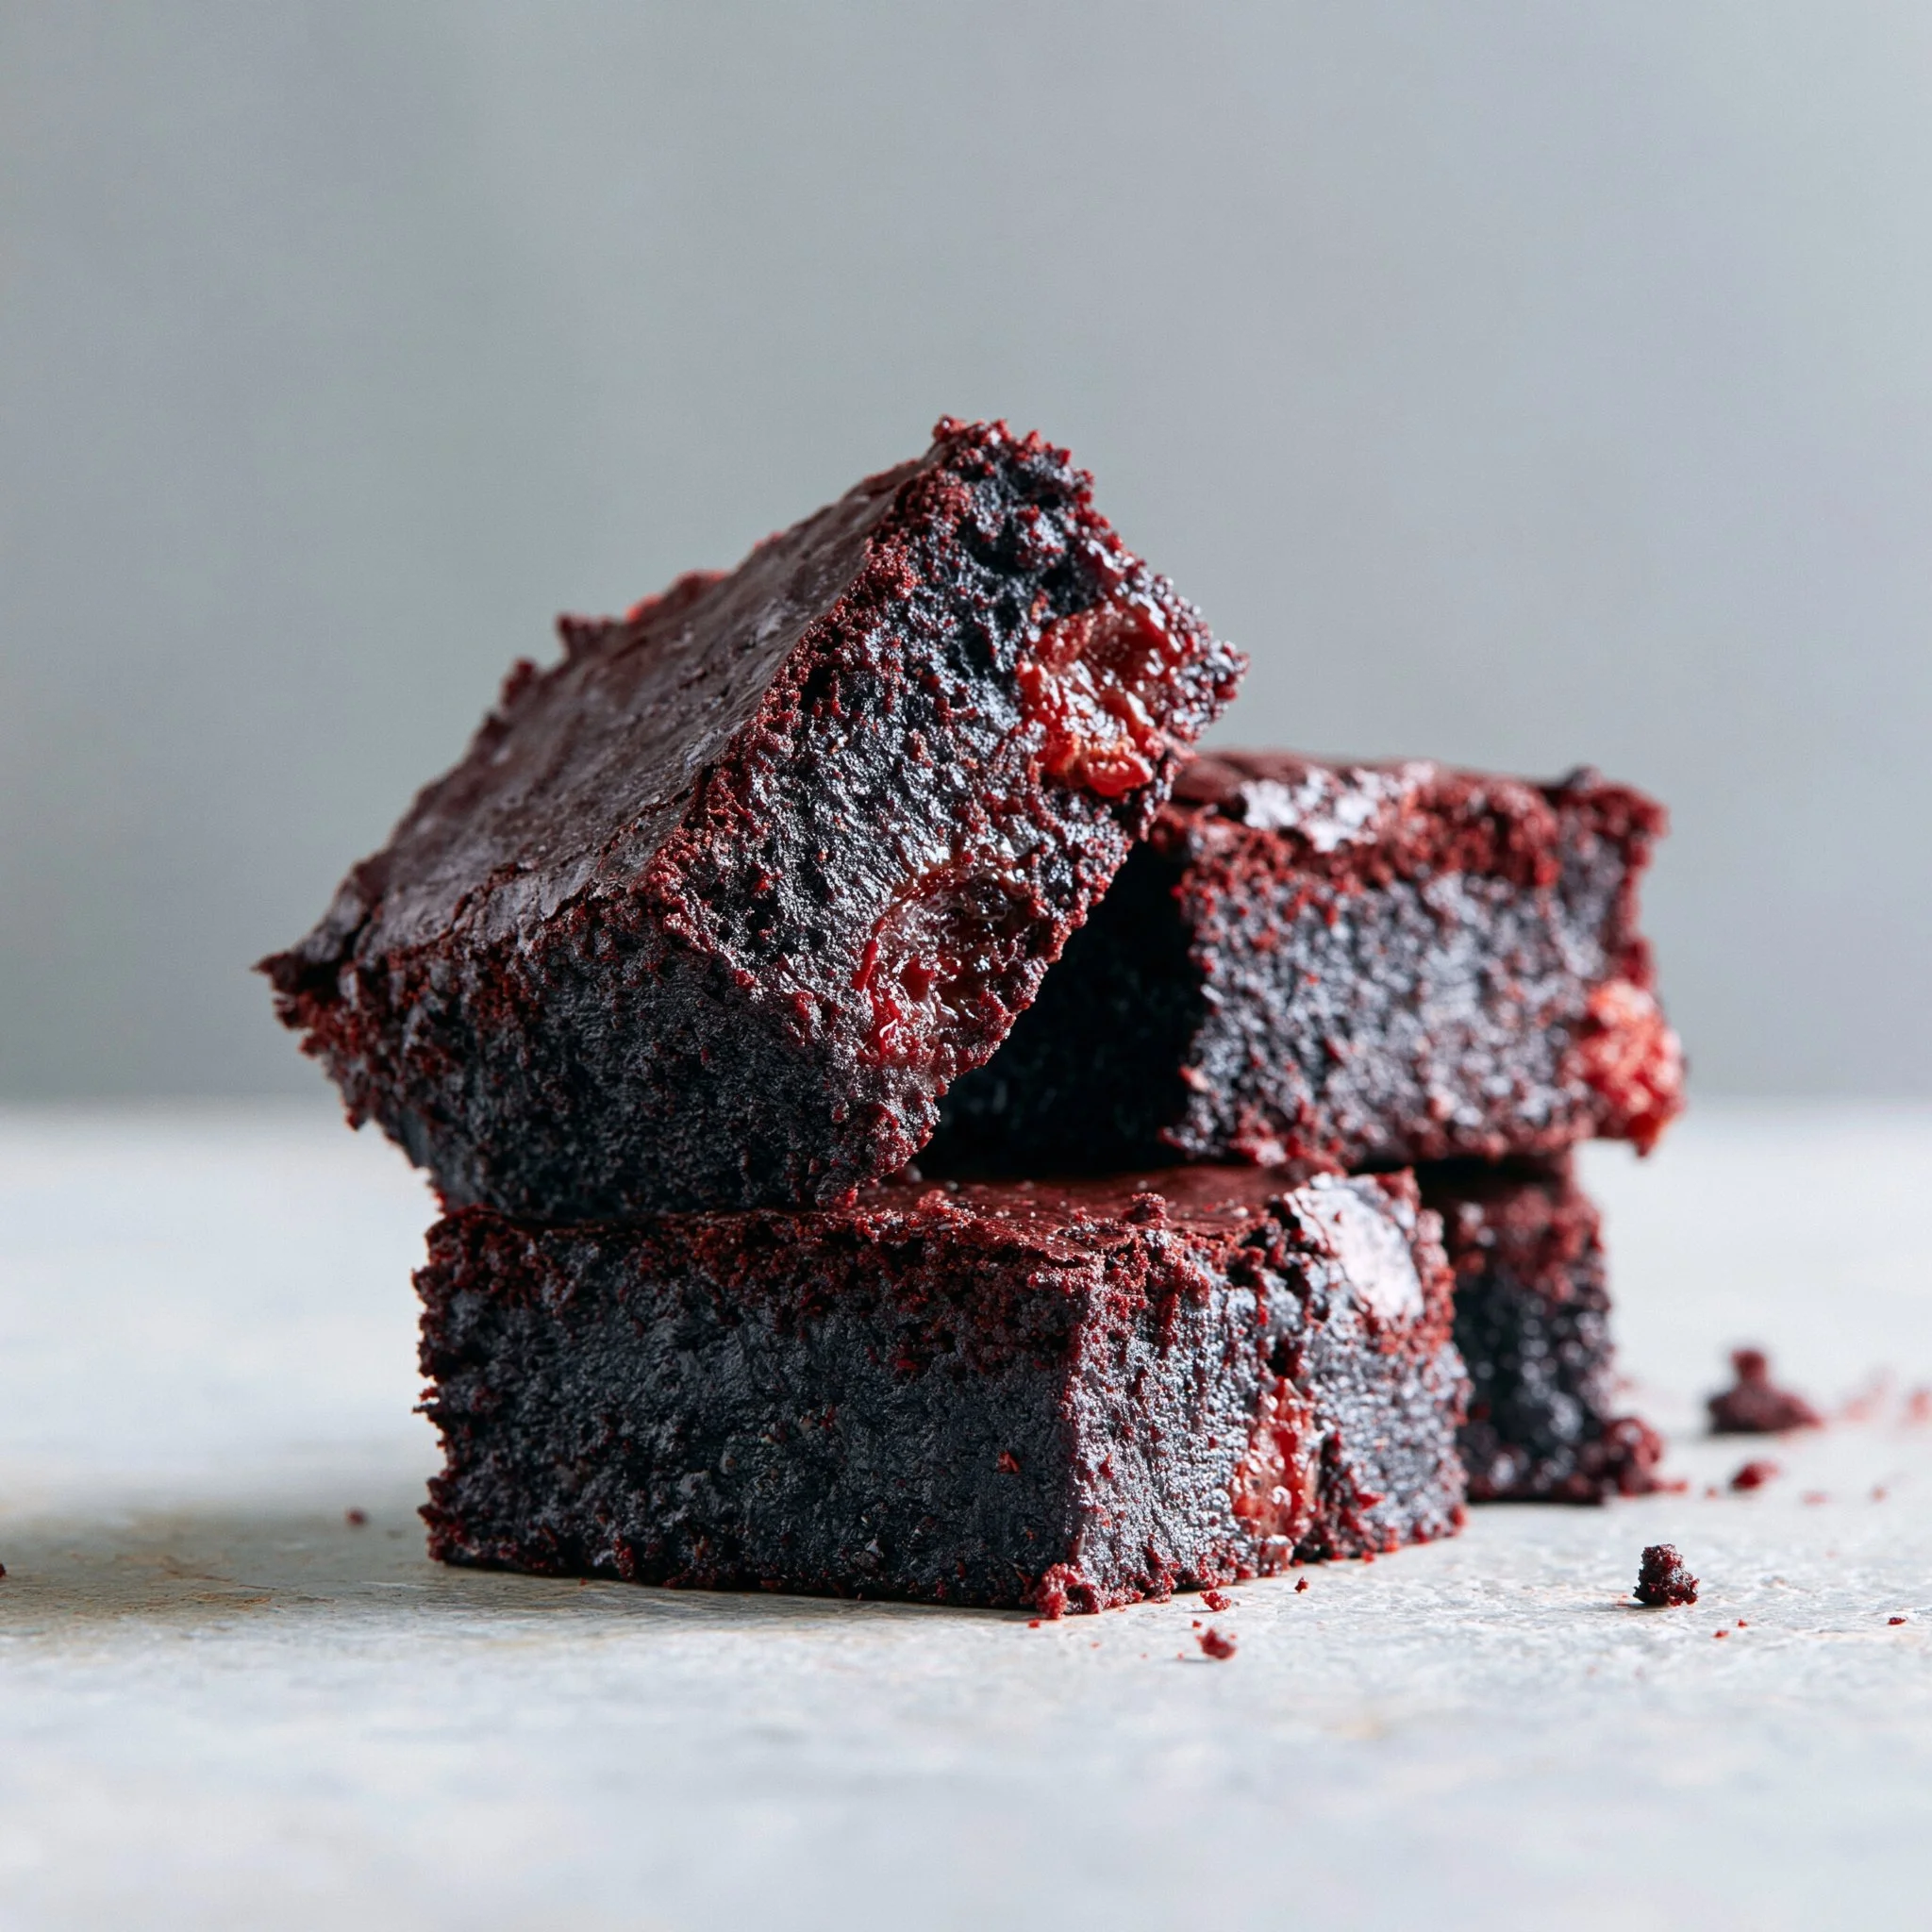
The first thing you’ll notice when these brownies come out of the oven is the deep cocoa aroma—like a good brownie shop, but coming from a batter sweetened entirely with dates. The edges set up into a thin, chewy frame, while the center stays dense and fudgy (the kind that clings to the knife in the best way).
The “amazing secret” here is simple: a glossy date paste made in the food processor. It gives you that classic brownie richness without granulated sugar, and it keeps the crumb plush for days. If you’re in the mood for a chocolatey bake that feels both comforting and refreshingly straightforward, this is the pan to reach for—and if you’re on a brownie kick lately, you might also like browsing the recipe collection for more chocolate-forward ideas.
Why You’ll Love This Recipe
- Naturally fudgy from date paste: Blending Medjool dates with hot water creates a thick, glossy base that bakes up dense—not cakey.
- Deep chocolate flavor: A full 1/2 cup unsweetened cocoa makes these taste boldly cocoa-rich, not just “lightly chocolate.”
- One main tool does the heavy lifting: The food processor does the mixing, so the batter comes together fast and evenly.
- Shiny, crackly-ish top without fuss: Spreading the thick batter smooth and topping with dark chocolate chips gives you a pretty, bakery-style finish.
- Easy doneness cues: You’re looking for set edges and a soft center—no guessing, no toothpick drama.
- Clean slices (if you wait): Cooling completely firms the center so you can cut neat squares instead of scooping pudding (tempting, but messy).
The Story Behind This Recipe
I developed these on a day I wanted a brownie that felt truly brownie-like—dark, fudgy, and not overly sweet—without pulling out a mixer or creaming anything. Once I saw how the dates and hot water turned into that shiny, caramel-brown paste in the processor, I knew it would be the backbone: rich sweetness, structure, and that signature dense bite.
What It Tastes Like
These taste like a classic fudgy brownie with a deeper, almost molasses-like sweetness from the Medjool dates. The cocoa comes through first—dark and toasty—followed by vanilla warmth and a smooth richness from coconut oil. Texture-wise, the edges bake into a thin, chewy border while the middle stays soft and dense; if you add the optional dark chocolate chips on top, you get little pockets of melty bittersweet snap against the fudgy crumb.
Ingredients You’ll Need
Medjool dates are the star: they blend into a smooth paste that sweetens and binds the batter. Hot water helps them turn glossy (that sheen is your clue you’re on track). Cocoa powder gives these their deep brown color and bold flavor, while coconut oil adds richness and keeps the center fudgy. Eggs provide structure so the brownies set at the edges without turning dry.
- 1 cup Medjool dates, pitted and packed
- 1/2 cup hot water
- 1/2 cup unsweetened cocoa powder
- 1/4 cup coconut oil, melted
- 2 large eggs
- 1 teaspoon vanilla extract
- 1/2 teaspoon baking powder
- 1/4 teaspoon salt
- 1/2 cup dark chocolate chips (optional, for topping)
How to Make Fudgy Date Brownies: 1 Amazing Secret
- Prep the pan and oven. Heat the oven to 350°F (175°C). Line an 8×8-inch baking pan with parchment paper, leaving a little overhang so you can lift the brownies out later.
- Make the glossy date paste. Add the pitted dates and hot water to a food processor. Blend until the mixture looks smooth, thick, and shiny, scraping down the sides if needed. You’re aiming for a paste that looks almost like dark caramel.
- Blend in the wet ingredients. Pour in the melted coconut oil, then add the eggs and vanilla. Process again until everything looks fully combined and uniform (no streaks of egg).
- Whisk the dry ingredients separately. In a bowl, whisk together the cocoa powder, baking powder, and salt. This quick step helps the cocoa and leavening disperse evenly so you don’t get bitter pockets.
- Add dry to wet—briefly. Tip the dry mixture into the food processor and pulse just until combined. Stop as soon as the batter looks evenly dark and thick; overmixing can make the texture tougher instead of fudgy.
- Spread and top. Scrape the batter into the prepared pan. It will be very thick—use a spatula to press and spread it into an even layer. Sprinkle the dark chocolate chips over the top, if using.
- Bake. Bake for 20–25 minutes. You’ll know they’re ready when the edges look set and slightly firm, but the center is still soft (it shouldn’t look wet or jiggly, just fudgy).
- Cool completely before slicing. Let the brownies cool all the way in the pan. This is when the center sets up into that dense, sliceable fudgy texture. Lift out using the parchment and cut into squares.
Tips for Best Results
- Use truly hot water for the dates. The heat helps the dates blend into a smoother, glossier paste—key for that fudge-like interior.
- Scrape down the food processor. Dates love to cling to the sides; a quick scrape ensures you don’t end up with little sticky bits that don’t fully blend.
- Pulse once the cocoa goes in. Cocoa thickens the batter fast. Short pulses prevent overworking and keep the brownies tender and dense.
- Watch the edges, not the center. These are meant to be fudgy. When the edges are set and the middle looks softly set (not liquid), pull them.
- Cool completely for clean squares. Warm brownies taste great, but they slice poorly. Fully cooled brownies cut into neat, rich-looking bars.
Variations and Substitutions
- Chocolate chip topping or not: The dark chocolate chips are optional, but they add a pretty finish and extra pockets of chocolate.
- Leaner look: Skip the chips for a smoother, darker top that shows off the brownie’s deep cocoa color.
- More brownie inspiration: If you want a different format next time, these chocolate brownie cookies hit a similar fudgy note in handheld form.
How to Serve It
Serve these completely cooled for the fudgiest, cleanest bite—then you get that dense center and chewy edge in the same square. I like them cut small (they’re rich) and paired with something simple like coffee or cold milk. For a snack board moment, add a few brownies alongside chewy no-bake options like homemade no-bake granola bars.
How to Store It
Keep the cooled brownies in an airtight container. They hold their fudgy texture well over the next couple of days. If you want extra clean slices later, chill them briefly first, then cut—cold brownies are especially neat and dense. For more small-batch, quick-bake chocolate fixes, I also keep these air fryer brownies in my back pocket when I don’t want to heat the whole oven.
Final Thoughts
If you love brownies that lean dark, dense, and genuinely fudgy, this date-sweetened version delivers—especially once you see how that glossy date paste transforms into a thick, sliceable center. Keep an eye on the edges, let the pan cool completely, and you’ll be rewarded with squares that feel both homey and a little bit special.
Conclusion
If you’re curious to compare approaches, this Fudgy Date Brownies recipe is another smart take on naturally sweetened brownies. For a different “healthy but still chocolate” direction, these Secretly Healthy Chickpea Brownies are a fun option. And if you love the idea of a surprise element in brownies, you’ll enjoy reading about extra fudgy secret ingredient brownies for more inspiration.
Fudgy Date Brownies
Ingredients
Method
- Preheat the oven to 350°F (175°C) and line an 8x8-inch baking pan with parchment paper.
- Add the pitted dates and hot water to a food processor and blend until smooth, thick, and shiny.
- Pour in the melted coconut oil, followed by the eggs and vanilla. Process until fully combined.
- In a separate bowl, whisk together the cocoa powder, baking powder, and salt.
- Tip the dry mixture into the food processor and pulse until just combined.
- Scrape the batter into the prepared pan, spreading evenly with a spatula.
- Sprinkle the dark chocolate chips over the top, if using.
- Bake for 20-25 minutes until the edges are set and the center is still soft.
- Let the brownies cool completely in the pan before lifting out and cutting into squares.